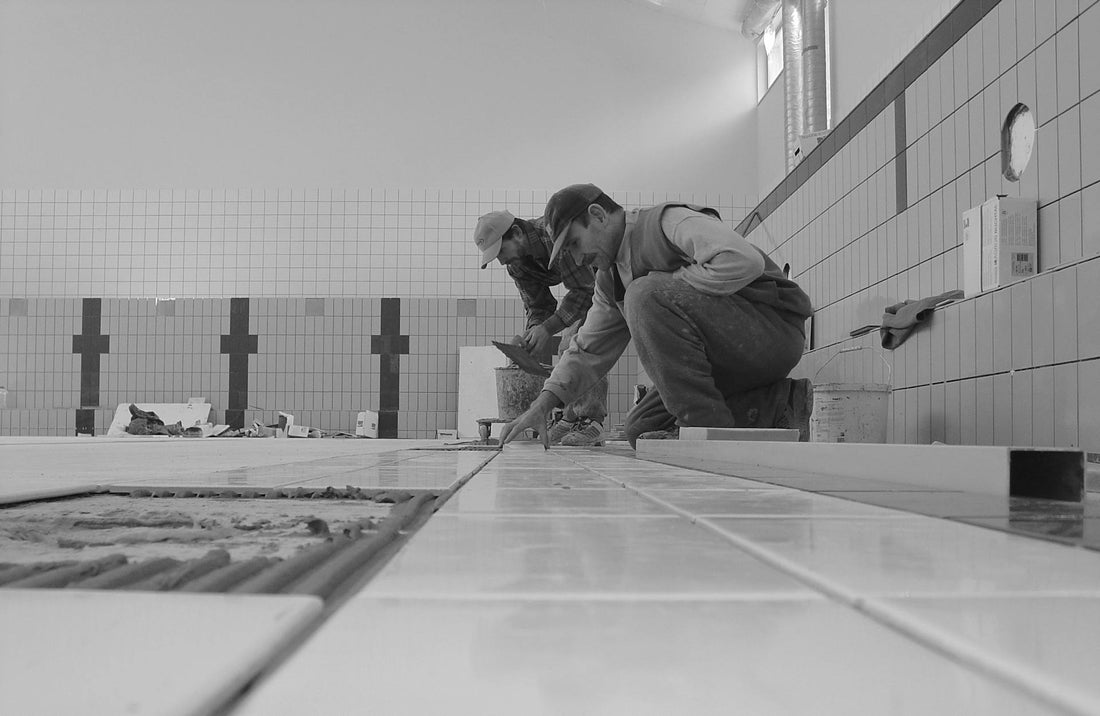
Tiling tips: techniques for rectangular and square formats
When you choose high-end tiles like those from Blanche Matériaux Nobles , installation plays a decisive role in achieving an aesthetic and durable result. Whether you opt for square (60x60 cm) or rectangular (60x120 cm, 20x120 cm) formats, follow our technical advice for a perfect installation.
1. Preparation of the installation surface: a crucial step
Successful installation begins with a perfectly flat, dry and clean surface:
- Remove residue : Clean the surface to ensure optimum adhesion.
- Check the flatness : An uneven screed can cause detachments or cracks.
- Drying time : For a traditional screed, wait approximately 4 weeks . On heated floors, preheat the floor to avoid cracking.
2. Straight or checkerboard installation for square tiles (60x60 cm)
Ideal for modern spaces, the square format allows for a clean installation:
- Straight pose : Harmonize the lines for a contemporary look.
- Checkerboard pattern : Alternate two shades for a dynamic graphic effect.
Key steps:
- Markers : Mark a starting point in the center of the room using a chalk line.
- Double gluing : Use a 10-12 mm comb for optimum adhesion.
- Joints : Prefer joints of 2 to 4 mm to absorb natural expansions.
3. Staggered or herringbone installation for rectangular tiles (60x120 cm)
The 60x120 cm format is ideal for adding depth to your rooms:
- Staggered installation : Offset each tile by a third to avoid height differences.
- Herringbone Lay : Create a sophisticated visual effect with dynamic angles.
Key steps:
- Perpendicular Axis : Draw a guide line to align the tiles.
- Special glue for large formats : Apply the glue to the floor and the tile (double gluing).
- Self-leveling shims : Ensure a flat, step-free surface.
4. Laying in staggered strips for parquet-effect tiles (20x120 cm)
This format is perfect for imitating the elegance of parquet:
- Staggered installation : Stagger each tile by a quarter or a third for a natural effect.
- Floor effect : Reproduce the warm aesthetic of a parquet floor with the practicality of tiles.
Key steps:
- Alignment : Draw a reference line in the most visible part.
- Double gluing : Ensures a solid hold, especially over long lengths.
- Self-leveling spacers : Avoid unevenness between tiles.
5. Choice of joints and finishes: aesthetics and durability
The seals play an aesthetic and functional role:
- Minimalist joints : Prefer 2-3 mm for a contemporary look.
- Waterproof : Use a water-resistant seal for wet rooms like bathrooms.
- Professional finishes : Protect the corners with profiles for a clean result.
6. Tips for a successful installation
- Anticipate cuts : Use a tile cutter or a water-powered electric saw for clean cuts.
- Respect the drying time : Wait 24 to 48 hours before making the joints for optimal adhesion.
- Avoid unevenness : Adjust tiles with a rubber mallet to ensure perfect flatness.
Conclusion: a PREMIUM result with Blanche Matériaux Nobles
Laying tiles, whether square or rectangular, requires precision and respect for the appropriate techniques. By following our advice, you will obtain an aesthetic and durable result.
At Blanche Matériaux Nobles , we support you in your projects with PREMIUM tile collections and expert advice.
📍 Visit our showroom in Sommedieue (55320) or discover our products online at www .blanchemateriauxnobles .fr . Enhance your spaces with high-quality tiles.